We Cover a 150km Radius Around Griffith.

FIBREGLASS POOL RENOVATIONS

We Make Your Old Pool Look Like New Again!

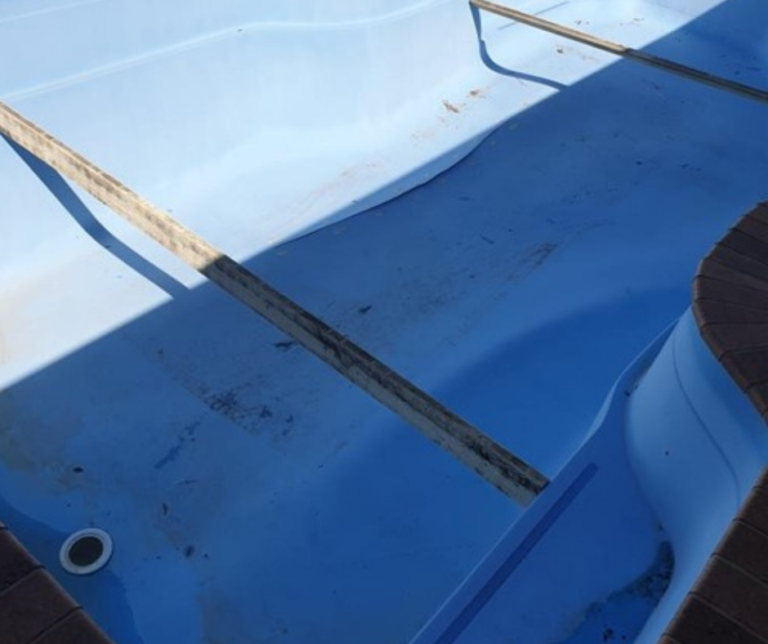
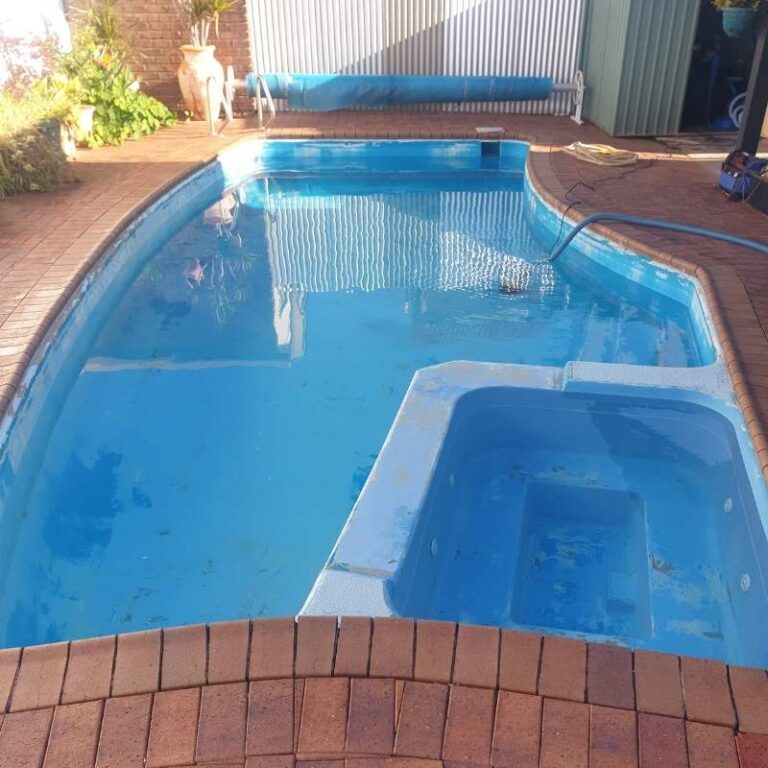
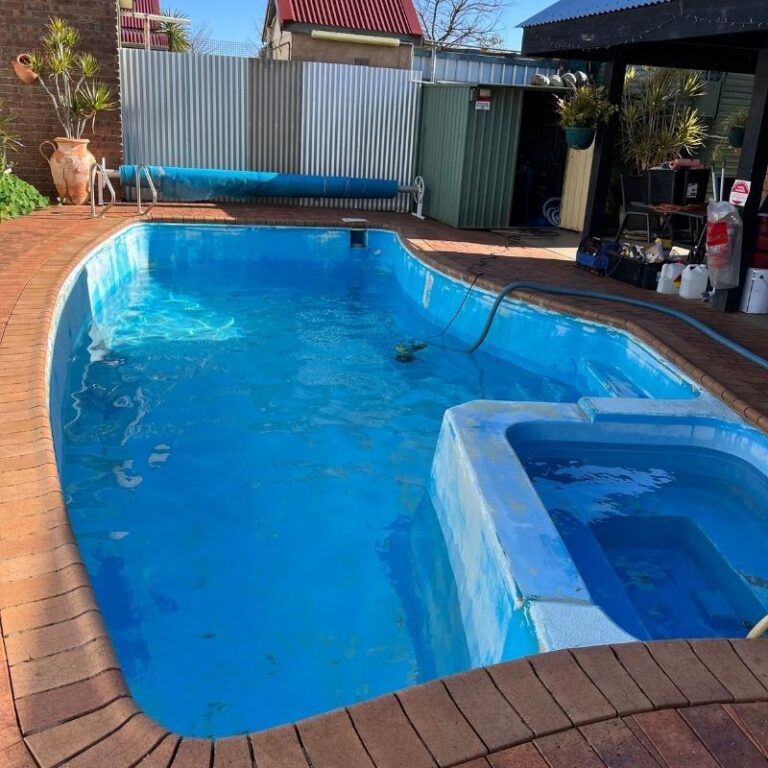
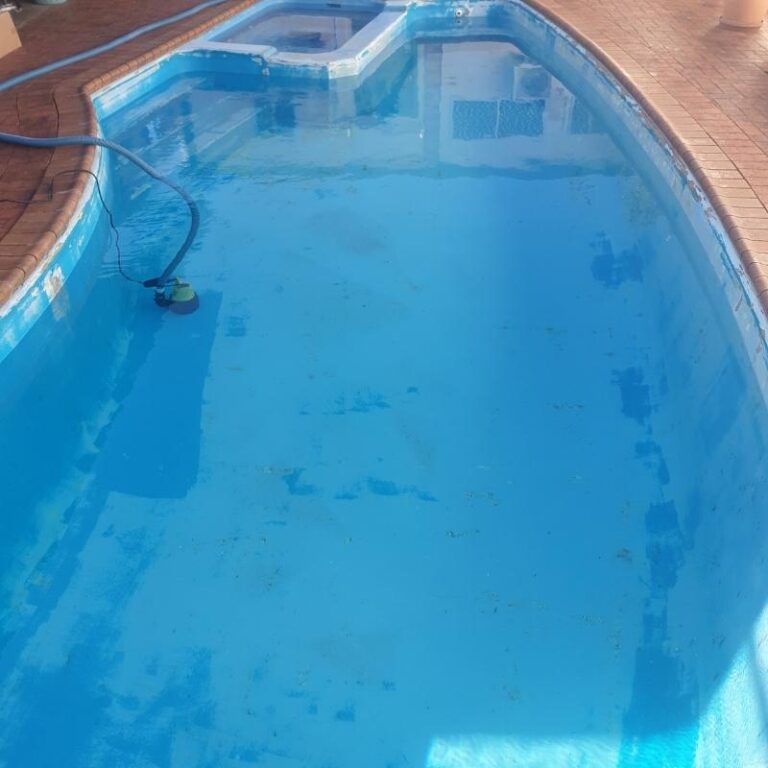
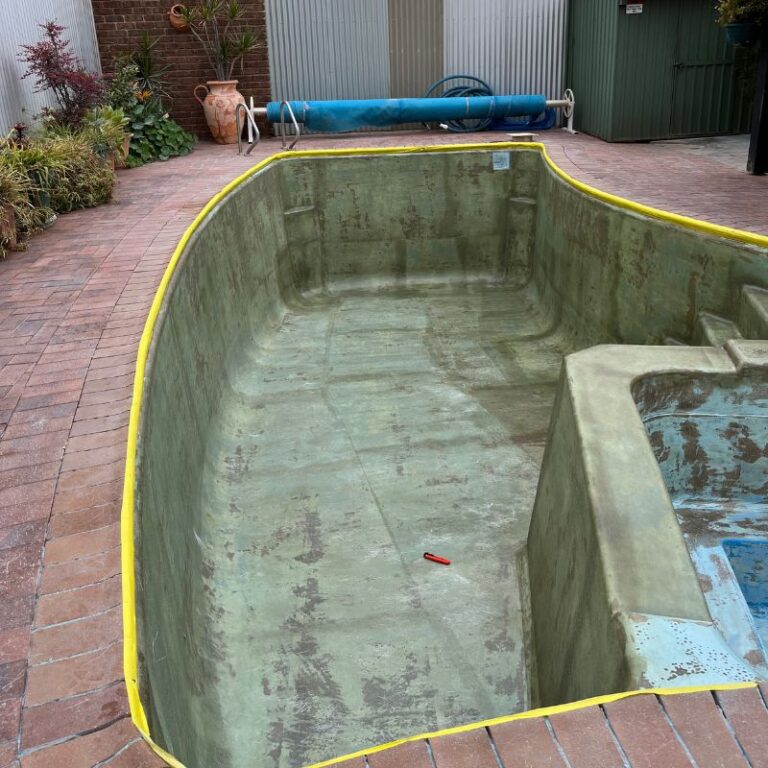
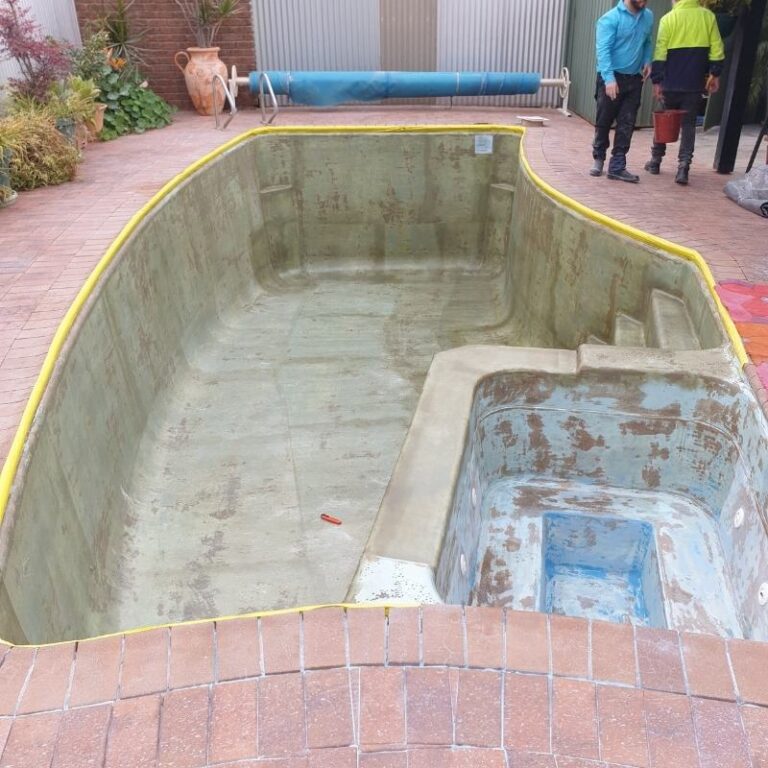
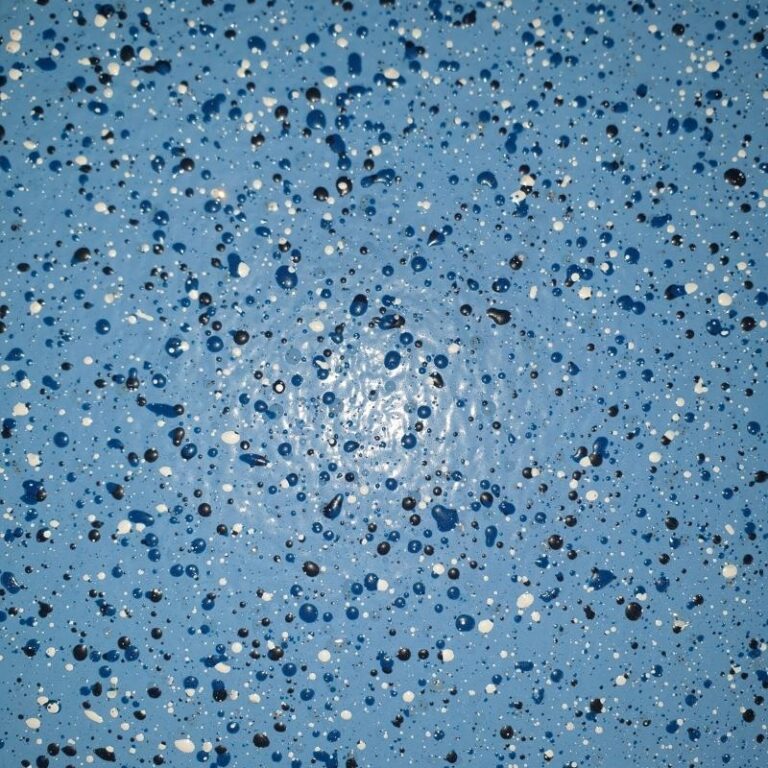
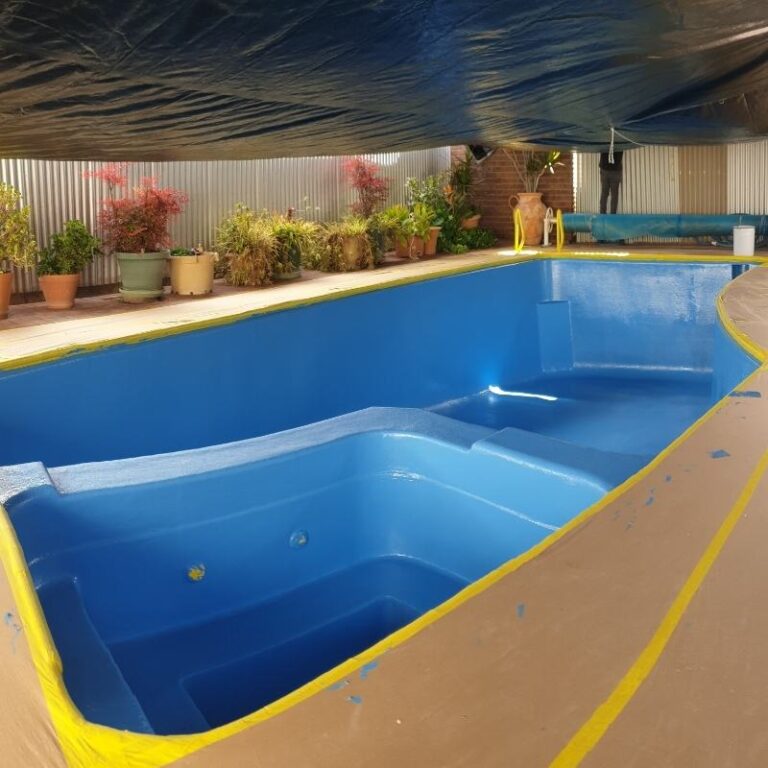
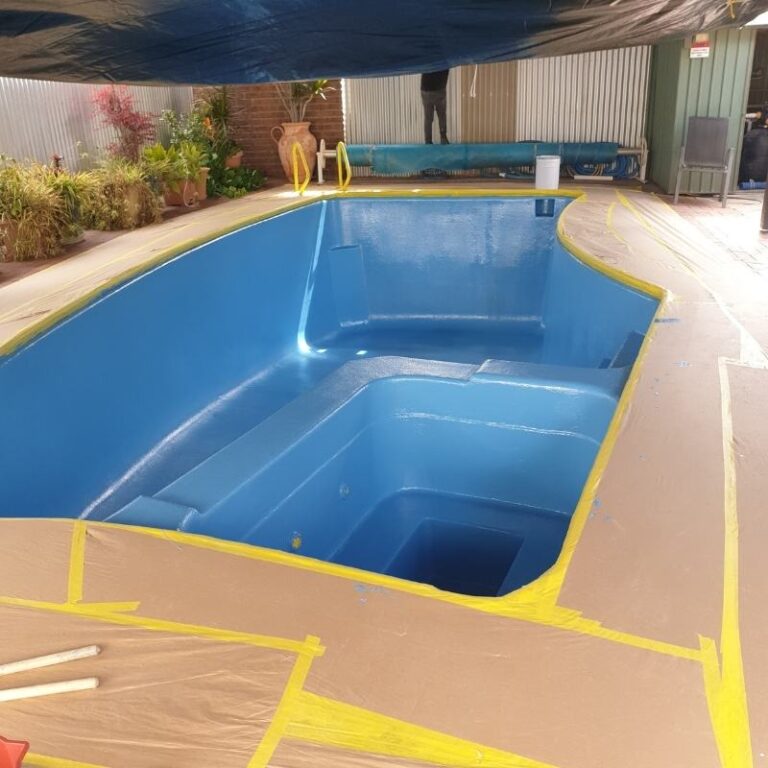
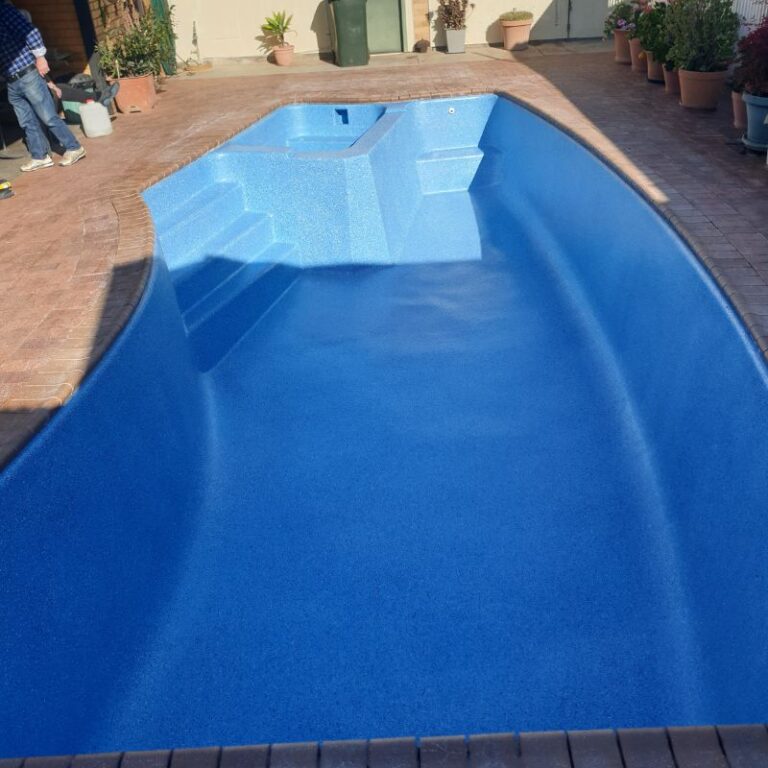
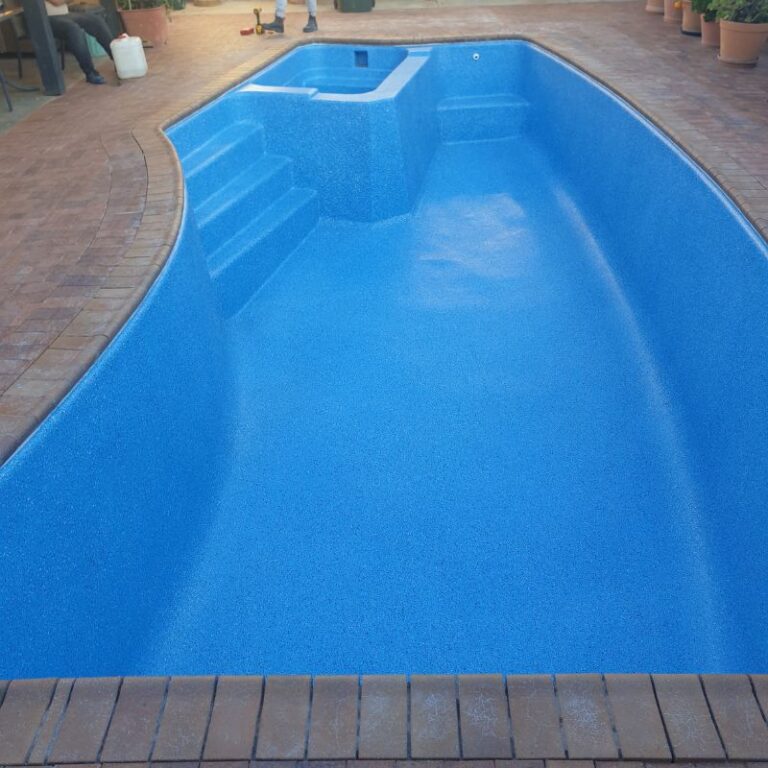
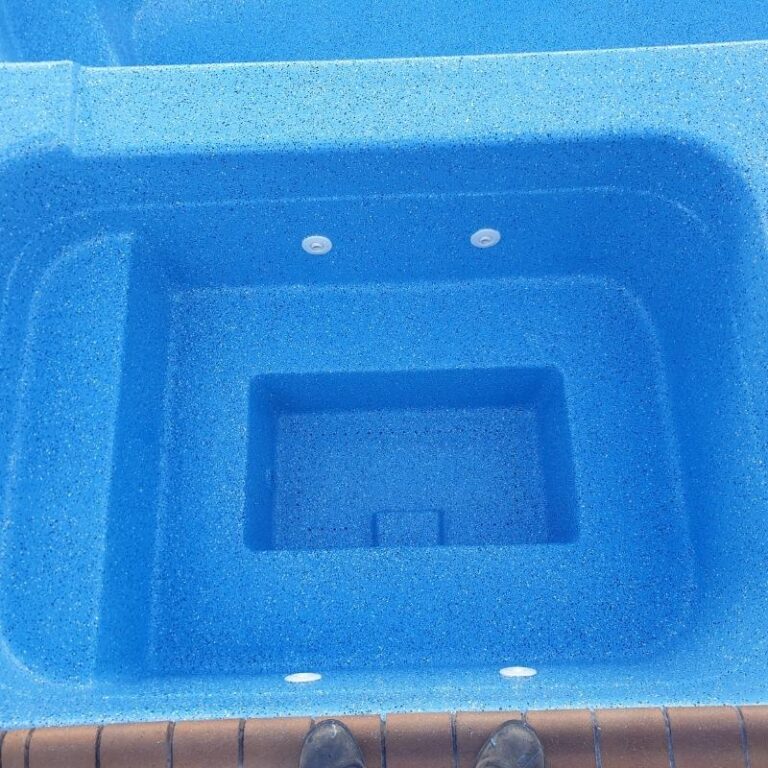
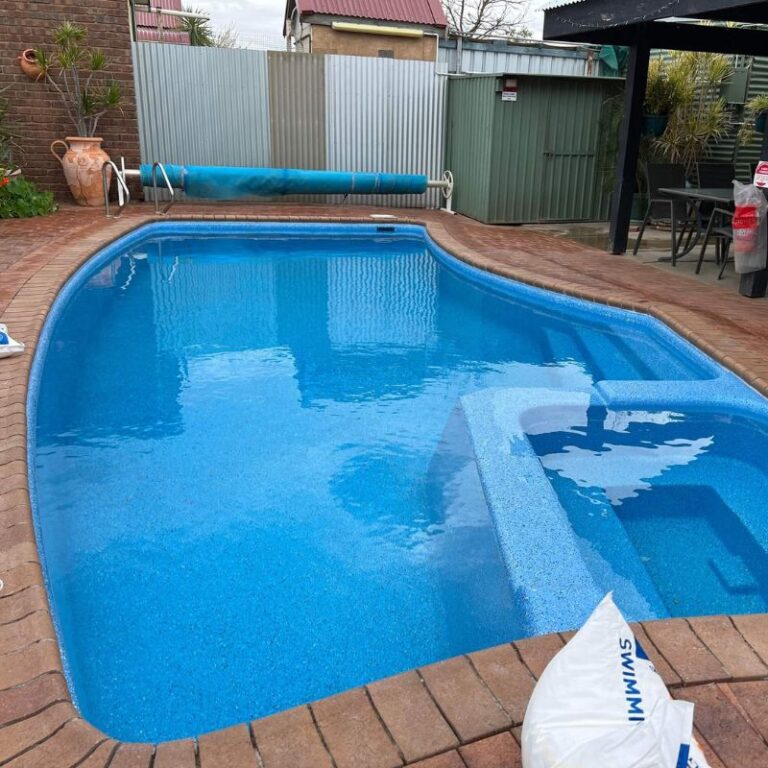
Over time, wear and tear may cause your pool walls to show signs of fatigue and chipping.

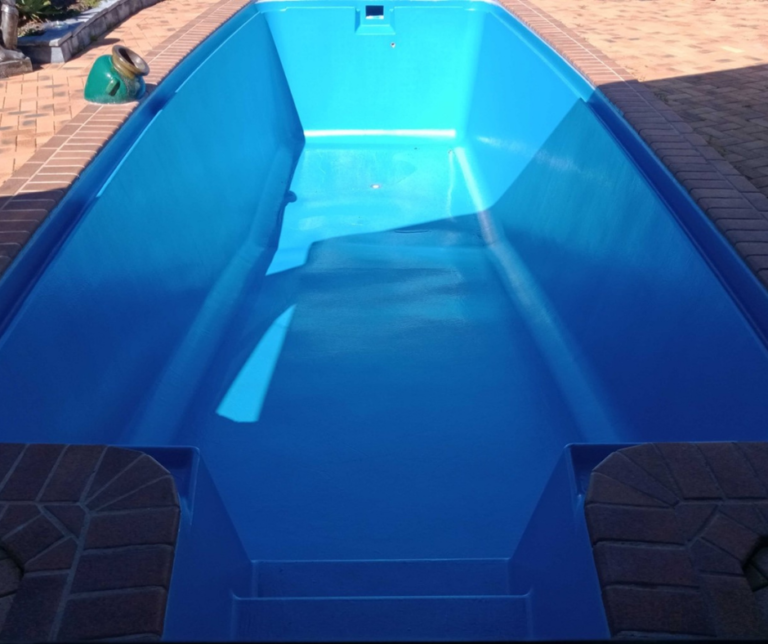
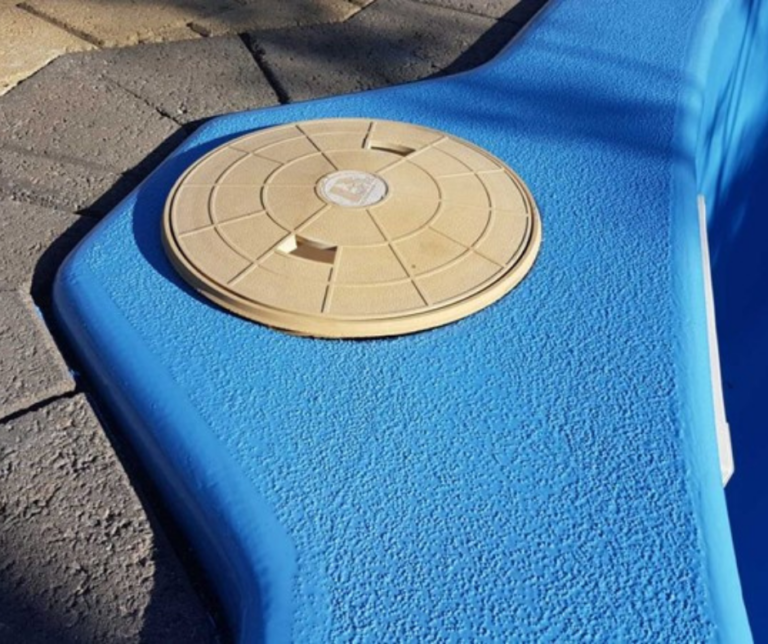
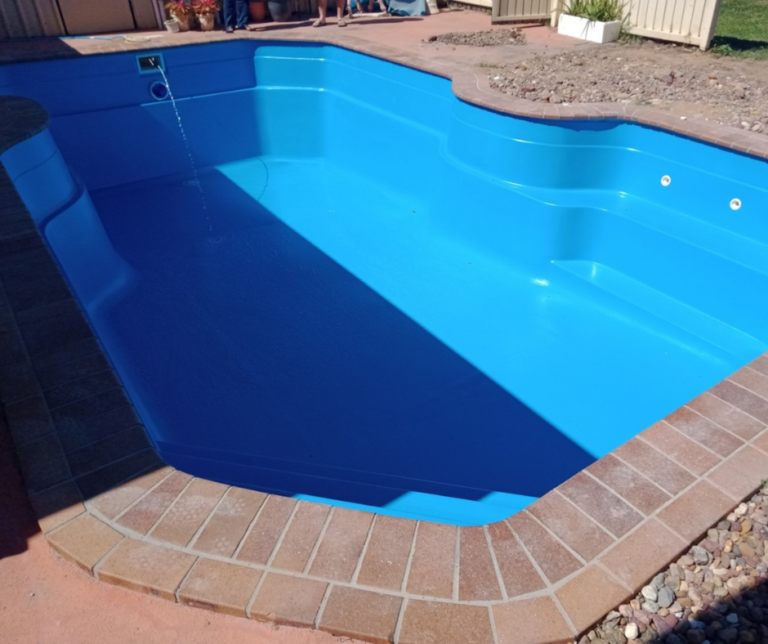
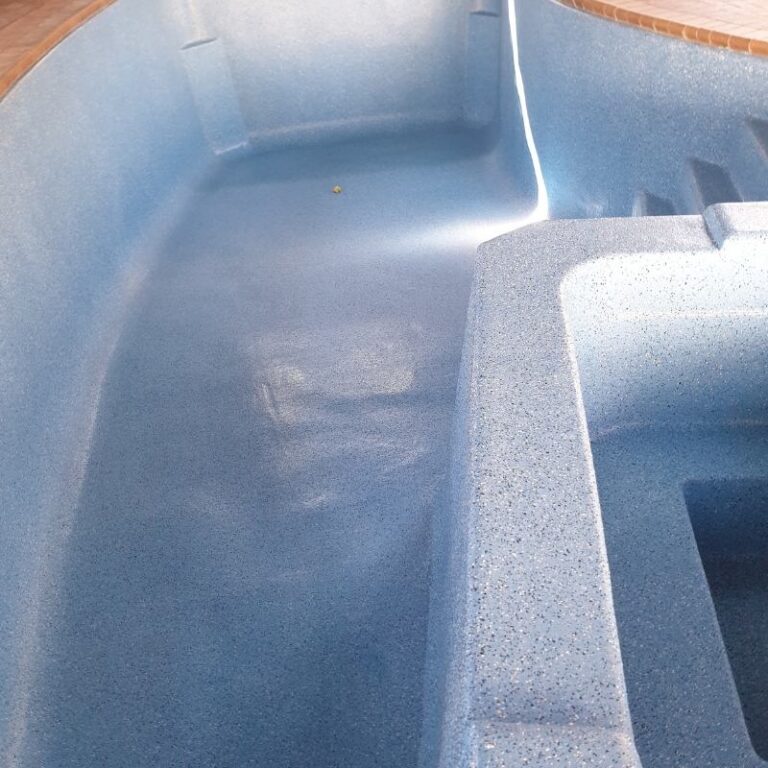
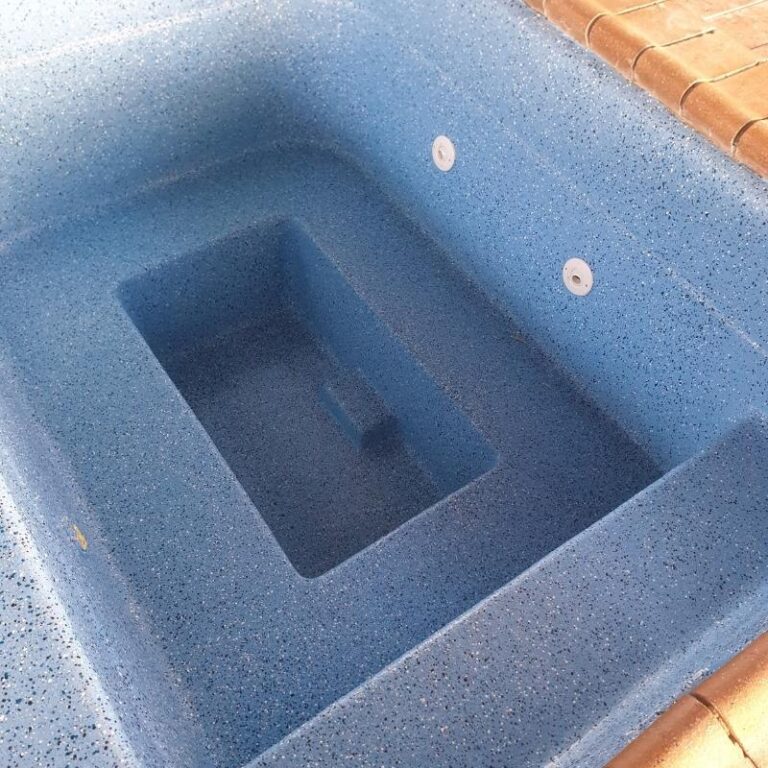
We specialise in fibreglass pool renovations in Griffith and surrounding areas. We can renovate and resurface your entire pool shell. 

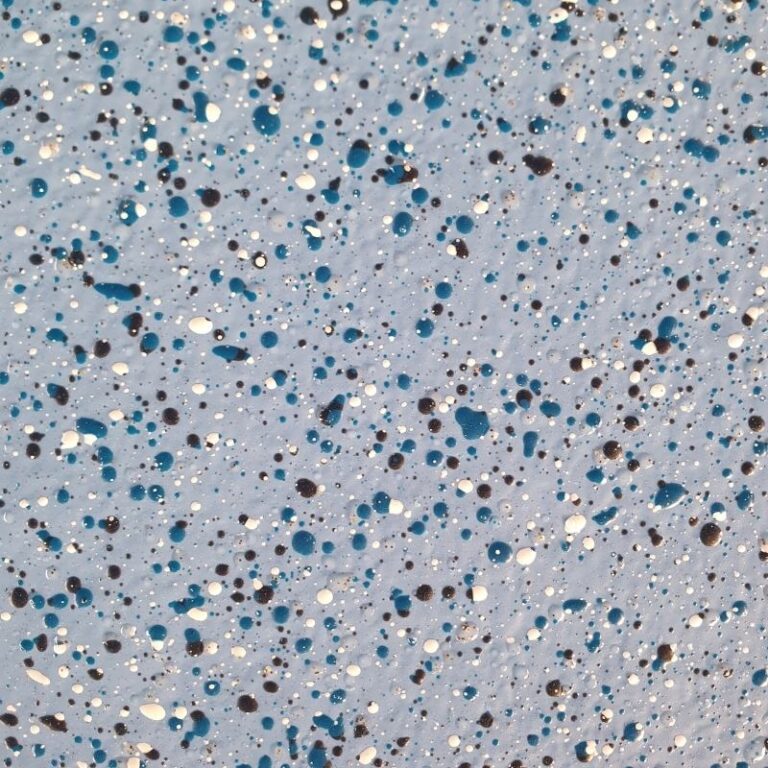
t’s our recommended and most cost-effective method for restoration, offering substantial savings compared to installing a new pool.

What’s Repaired During a Fibreglass Pool Renovation?

The primary concerns with older fibreglass pools include osmosis bubbles, wall chips, and cracks.

After draining and inspecting the pool, all faults are addressed by removing them and applying multiple layers of gel coat.

This process rejuvenates the pool, restoring it to nearly new condition. Typically, pools undergo resurfacing or renovation every 15 years!

Our pool renovation services are available in Southern NSW and Northern Victoria.

Pool Renovation Griffith

Signs Your Fibreglass Pool Needs Resurfacing

Surface Bumps & Bubbles

Monitor your pool walls and the underwater surface for raised bumps or bubbles, which often indicate osmosis.

Osmosis happens when the top gel coat is compromised, permitting water and air contaminants to penetrate the pool lining, leading to the formation of bubbles and bumps.

If left unaddressed, these bubbles will progressively expand and may result in minor leaks.

Black Spots & Cracks

Black spots in your pool serve as a clear indicator for the need of resurfacing. Their size and shapes may vary.

Chemical treatments, are effective for algae prevention but might not be sufficient to eliminate these black spots. Even with proper chemical balancing these spots tend to persist, due to being ingrained into the pool surface.

To prevent the return of black spots, a professional pool resurfacing with a new fiberglass layer is necessary.

See Us In Action!

Inlandpools Pool Renovation Process

Step 1:
Bracing & Emptying

Before the pool can be drained, it needs to be correctly braced to prevent the risk of movement in the walls.

In some cases, the braces will remain in the pool throughout the renovation process if there is a risk of further movement.

Pool bracing griffith

Step 2:
Covering The Pool

We cover each pool with tarps throughout the renovation process to reduce dust contamination and UV exposure that can cause a fluctuation in curing times.

Step 3:
Black Spot & Osmosis Treatment

Once the pool is drained and covered, we go to work treating black spots and osmosis.

We grind the surface back to its original source to treat the black spots and remove any damaged fibreglass. Then, each bubble’s outer layer and inner layers are removed with specialised tools. Once it has been removed, cleaned, and dried, an ester putty is applied to thoroughly seal off the void.

Pool bracing griffith
Pool renovation top layer griffith

Step 4:
Applying Fill Coat Layer

Once the fibreglass has finished curing, a thorough light sanding will be done to ensure round, smooth edges.

Next, we apply the fill coat with rollers to the entire pool surface. We use a special blend of epoxy resin throughout this process. This acts as a filler between the fibreglass and the matting. The epoxy resin also acts as a chemical barrier and will bond well with the top coat.

Once the fill coat is applied and cured, it is sanded back to provide a smooth, neat finish.

Step 5:
Applying Top Coat
(Pool Coat)

Applying the top coat needs to be done correctly, and conditions need to be closely monitored.

Before applying with our high-quality rollers, we measure the moisture level, temperatures, and any potential heat spots within the pool wall.

Using the above measurements, we calculate the required amount of catalyst and the overall size of the mix.

Top coat layer fibreglass pool griffith

Step 6:
Fibreglass Layer
(Not Always Req)

Depending on the condition of the pool, a layer of fibreglass may need to be added to the entire pool. This layer of fibreglass protects from future osmosis and black spots and improves the structural integrity of your pool.

Inland Pools apply an ester resin to the base while ensuring a neat, even application. We then carefully apply a 300-gsm fibreglass mat with a final layer of vinyl ester to bond all layers to the original pool wall.

Final Inspection & Finishing Touches

Once completed, Inland Pools will thoroughly inspect the pool and remove the coverings.

We will repair any areas that may need extra attention to ensure a near-perfect finish.

We ensure that every job site is left immaculately clean, with no debris or waste remaining, providing you with a revitalised pool ready for the next summer season.

Recent Work